Android has a lot of nifty hidden options and one of them is ‘USB Debugging’. It is required to be turned on in order to establish a successful connection between your PC and your Android device over ADB (Android Debug Bridge). This comprehensive guide will show you how to enable USB Debugging on Android. The instructions will work on any Android device, irrespective of the device manufacturer (OEM).
Here on our blog, we cover several tutorials for which you will need to enable the USB Debugging option on your Android device first. The process is short and it feels redundant to mention the steps every time in every tutorial where it is required. And thus, we thought of creating a separate tutorial that will not only help you turn ON USB Debugging on your phone but will also allow you to learn about what it actually is and when you might need it.
Table of Contents
What is USB Debugging in Android?
‘USB Debugging‘ is a developer option in Android that is used to establish a successful ADB connection between a PC and an Android device. It is generally hidden within the Android device’s settings menu and is disabled by default.
So, the question is, why would you need to enable USB Debugging on your Android device? A straight answer to that is: ADB won’t be able to recognize your phone if USB Debugging is disabled. Once enabled, it allows you to execute ADB commands to perform several actions, like debugging an app, capturing a bug report to provide feedback to developers (logcat), force-reboot your Android device into recovery mode/fastboot mode, etc.
An Important Clarification First!
I and so, many users have seen a lot of online resources claiming that USB Debugging must be enabled in order to flash firmware (Stock or custom ROMs) and custom recoveries on Android devices. I say NO! Why? Read ahead.
USB Debugging is only required to establish a successful ADB connection between your PC and your Android device, while it is booted into the system (OS). Outside that, be it in recovery mode or fastboot/bootloader mode, USB Debugging doesn’t serve any purpose. Even if you’re trying to sideload OTA updates using ADB then there’s no need for USB Debugging to be enabled.
So the next time someone mentions or claims that USB Debugging is required to flash a factory image or stock firmware via Odin, then you’ll know that’s incorrect and you wouldn’t wander off in the wrong direction.
If you still don’t believe me, try it for yourself.
How to Enable USB Debugging on Android
Like I mentioned earlier, USB Debugging resides inside the ‘Developer options’ menu in the Android device settings. This menu is hidden on all Android devices by default to prevent accidental access. So, we have split the instructions into two steps. The first step will guide to enable Developer Options and then finally enable the USB Debugging option within it.
This guide supports any device, irrespective of the OEM, running the following Android OS versions:
- Ice Cream Sandwich (4.0)
- Jelly Bean (4.1, 4.2, 4.3)
- KitKat (4.4)
- Lollipop (5.0, 5.1)
- Marshmallow (6.0)
- Nougat (7.0, 7.1)
- Oreo (8.0, 8.1)
- Pie (9.0)
- Android 10
Step 1: Enable Developer Options in Android Device Settings
- Go to the ‘Settings‘ menu on your Android device.
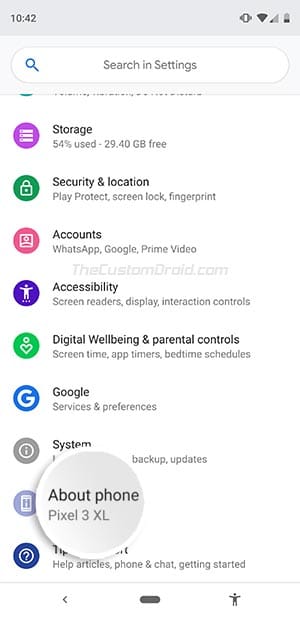
- Scroll through the settings and tap on ‘About phone‘.
- Find the ‘Build number‘ section in the ‘About phone’ menu.
- Now, continuously tap on the build number section for five (5) times to enable Developer Options.

- Enter the lock screen PIN, Password, or Pattern when prompted.
- You should now see a confirmation message like ‘You’re now a developer!‘, ‘Developer mode has been enabled.‘ or a similar message on the phone’s screen.
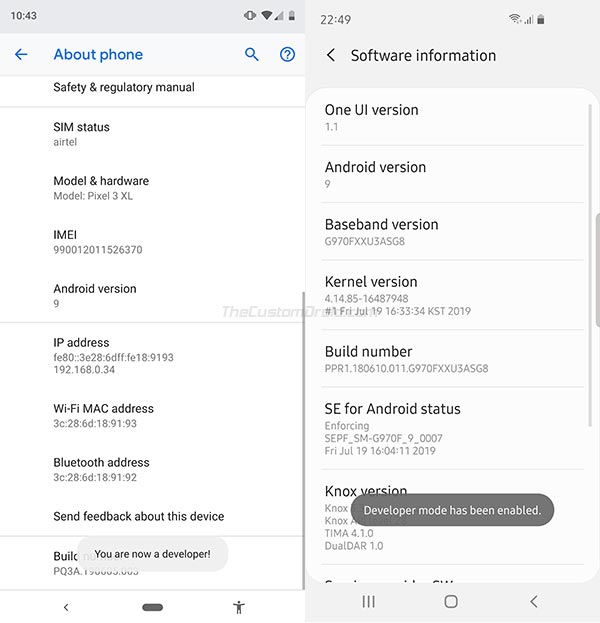
Note: In case of certain OEM devices, the Build Number section would be nested in another sub-menu. For example: In the case of Samsung Galaxy devices, you will find the ‘Build number’ section in Settings > About phone > Software information.
Step 2: Enable USB Debugging on Android
- Go to the ‘Settings‘ menu on your Android device.
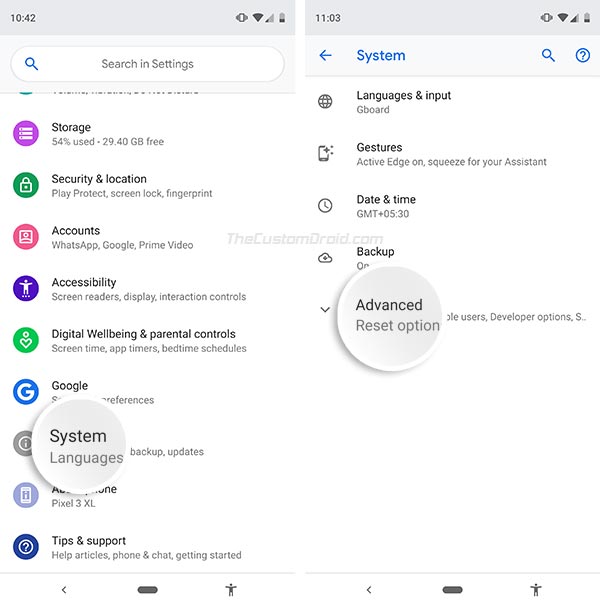
- Select ‘System‘ and tap on ‘Advanced‘ (Only on Android 8.0 and above).
- Now tap on ‘Developer options‘.
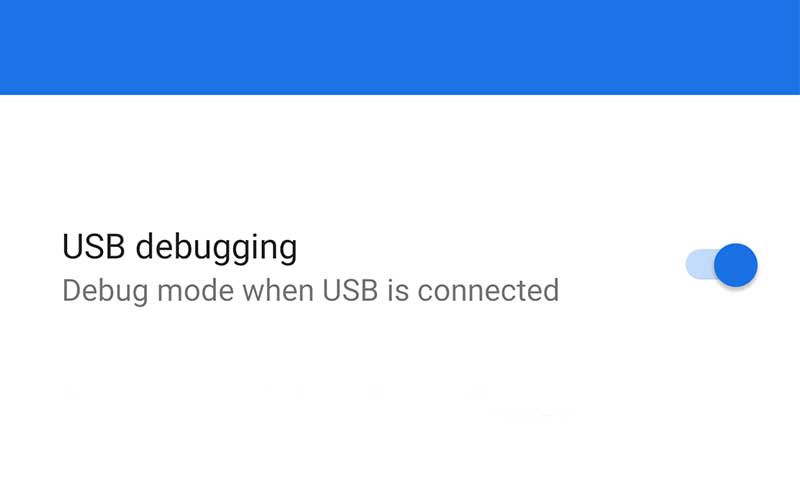
- Scroll down to the ‘Debugging‘ section.
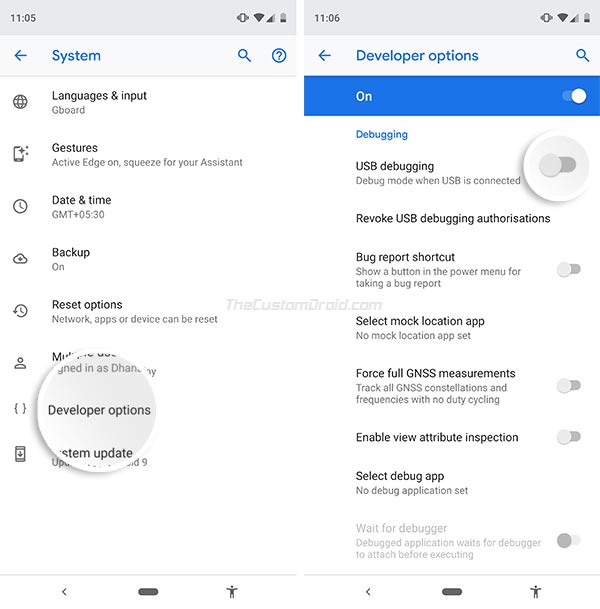
- Turn ON the ‘USB debugging‘ toggle.
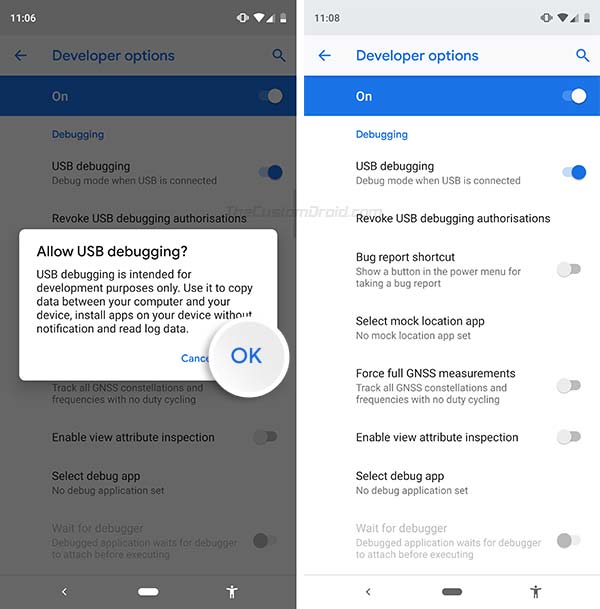
- You should now see a confirmation prompt on the screen.
- Finally, tap on ‘OK‘ to confirm and enable USB Debugging on your Android device.
Note: In the case of Samsung Galaxy or certain other OEM devices, you will simply need to go to Settings > Developer options.
This is it! With the option now enabled, you can now go ahead, connect your phone to the PC and use the desired ADB commands.
Some Commonly Used ADB Commands
With USB Debugging enabled, you can now use your PC to communicate with your Android device and perform various actions using ADB commands. Below is the list of some commonly-used ADB commands that you might need and use from time-to-time.
[table id=18 /]
So, this was our tutorial on how to enable USB Debugging on Android. If you have questions, you can simply leave a comment below.