Some good news for the folks! You can now root Samsung Galaxy S8 and S8+. Well yes, it clearly hasn’t been much time since the release, but just as more people started getting their hands on the device, it was certain that the development on the root scene was pretty much on. While today was gonna be all about TWRP recovery release for the S8+ (Exynos), but we are gonna move on further to help you install TWRP, disable forced-encryption, and finally root Samsung Galaxy S8 and Galaxy S8+.
TeamWin now officially supports the latest Samsung flagships. The builds are being maintained by XDA Developer – jesec, who is also responsible for bringing the first TWRP port for the S8+.
- Add Quick Settings Display Mode Tile on Galaxy S8/S8+ (Root)
- How to Stop Android Wakelocks using WakeBlock (Root)
- Fix Galaxy Note 8 “Unfortunately, Phone has stopped” Issue
- How to Disable Bixby button on Galaxy S8, S8 Plus, and Note 8
- How to Fix OK Google Issue on Galaxy Note 8 and S8
Table of Contents
How to Root Samsung Galaxy S8 & S8+ (Exynos)
Now, you can also make use of the TWRP recovery to disable forced-encryption and root Samsung Galaxy S8 and S8+ without much hassle. Let us show you how.
Disclaimer
Using this procedure to root Samsung Galaxy S8 and S8+, you will trip the KNOX counter and thus void your device’s warranty. TheCustomDroid or any of its members will not be responsible for any damage to the device, whatsoever. However, if you come across any problems, we will help you to the best of our capability.
A Few Things First
- Charge your S8/S8+ to a sufficient battery level. This will prevent any hiccups during the process.
- Decrypting and removing forced-encryption will require you to wipe the complete internal storage. So take a complete backup of your internal storage, messages, contacts, and everything else that is important to you.
- Download and install latest Samsung USB drivers on your PC.
- Enable OEM Unlock in Settings > Developer options. If it is disabled, you wouldn’t be able to flash TWRP. To know how to enable Developer options on Android, read our tutorial.
- Download the Odin program and extract the zip: Odin_v3.10.7.zip
Install TWRP Recovery
In order to root Samsung Galaxy S8 and S8 Plus, you must first install TWRP recovery using the Odin program.
- Download TWRP recovery for your model: Galaxy S8 (dreamlte) | Galaxy S8+ (dream2lte)
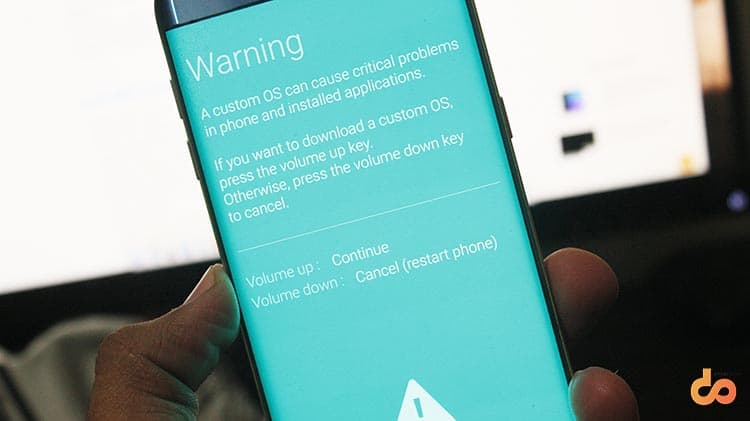
- Boot your S8/S8+ into Download Mode – Power off the device. Press and hold the Volume Down, Home, and Power buttons until you see a warning screen. Tap the Volume Up key once to enter Download Mode.
- Use a USB cable to connect your device to the PC.
- Go to the folder location where the Odin program was extracted and run the Odin3 v3.10.7.exe.
- The Odin program window will show up on your PC screen. The ID:COM port corresponding to your device shall light up. If it doesn’t, you need to make sure that you have the latest USB drivers installed on your PC.
- Click on the AP button and select the recovery image (Example: twrp-3.1.1-2-dreamlte.img.tar OR twrp-3.1.1-2-dream2lte.img.tar) file. Make sure that Auto Reboot is unchecked in Odin options.
- Finally, click on the Start button to begin the flashing process.
- Once it is completed, a “PASS!” message will be displayed on the Odin screen. Do not reboot your device yet.
- Boot Galaxy S8 into TWRP recovery mode –
- While your phone’s in Download Mode, press and hold the Volume Down, Home, and Power buttons until the screen goes off.
- As soon as the display turns off, release the Volume Down key and press the Volume key while still holding Power and Home buttons.
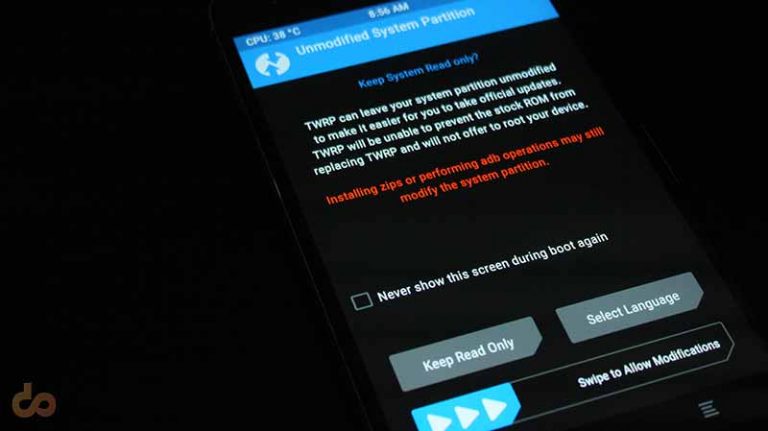
When you first boot into TWRP, you will be prompted with “Unmodified System partition” warning, so make sure that you allow modifications.
Now that you have TWRP installed, it is best to take a Nandroid backup of your current setup. You can do that over ADB, just follow our tutorial. Now, it’s time to move ahead and root Samsung Galaxy S8 and S8 Plus.
Disable Forced-Encryption and Root Samsung Galaxy S8
If you’re looking forward to completely decrypt your device and rooting it, then the instructions below will assist you.
- To decrypt the data partition, go to Wipe > Format Data and enter “Yes” in the provided field. It shouldn’t take more than a few seconds and then go to Reboot > Recovery from the main TWRP screen. Your Galaxy S8 will reboot back into TWRP recovery mode.
- Download the required files – no-verity-opt-encrypt-5.1.zip and Magisk-v14.0.zip
- Go to “Mount” and select “Enable MTP”. Connect your S8 to the PC and transfer both the downloaded files to the internal storage.
- Now that your device is decrypted, it is important that you disable forced-encryption, so tap on “Install”. Browse the internal storage and select the “no-verity-opt-encrypt-5.1.zip”. Finally, swipe the button on the bottom to flash the file.
- Now that you have decrypted the storage and disabled forced-encryption, it’s time to root Samsung Galaxy S8 (and S8+). So flash the “Magisk-v14.0.zip” file (Read more about Magisk here) in the same manner.
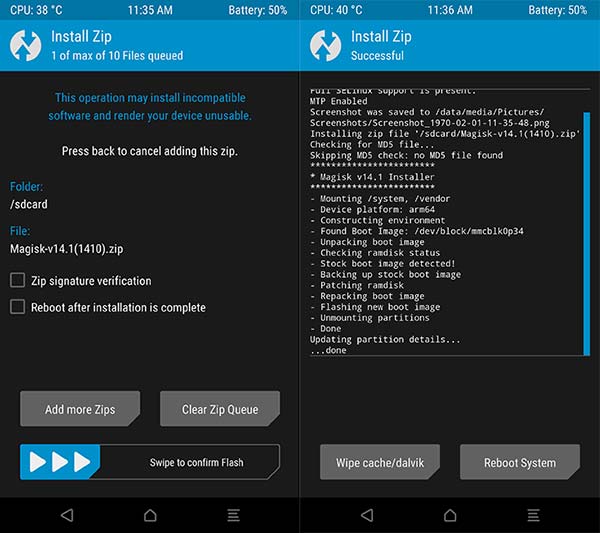
Flashing Magisk 14.1 Update through TWRP - Once all the flashing is done, you can go to Reboot > System to boot back into your rooted Samsung Galaxy S8.
Now that you have suceeded to root Samsung Galaxy S8 and S8+, you can verify it by running the Magisk Manager app. You can try some Magisk modules or even mods like ViPER4Android.
Also read: Get Samsung Galaxy S8 NavBar on Note 5 and S6 Edge+
If you come across any problems during the process to root Samsung Galaxy S8, make a comment below. Don’t forget to share this article on your social media and let your friends know about it.