MultiROM is by-far, one of the most innovative tweaks ever made for Android. Trust me when I say “I switch ROMs, almost daily” – Why? Because I love to explore the uniqueness in each ROM since all of them have something different to offer. You can now boot multiple ROMs using MultiROM on Nexus 6P.
Advertisement
Having said that, It has almost been a month since I first got my new Nexus 6P in-hand, and from that very moment, I have waited for MultiROM to arrive for this device. Being so impatient, I even tried porting it to the 6P (just look at my Github), and after a few days of struggle, I came up with a successful compilation of the MultiROM recovery and installer binaries (they worked pretty fine). But then came the hard part – porting the kexec-hardboot patch to ARM64, and that’s where I got knocked down, well basically I didn’t have that much of knowledge to proceed.
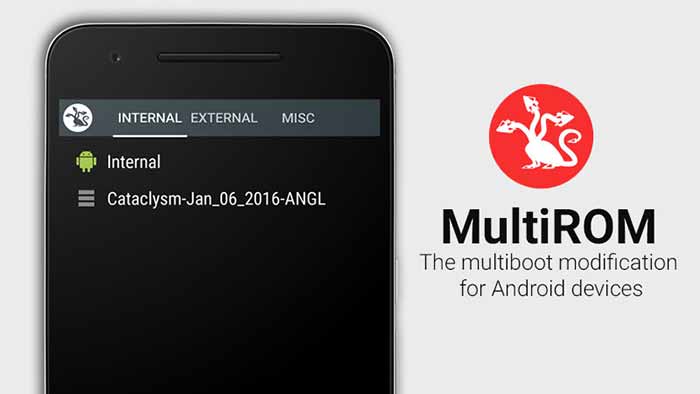
But, there was someone else too, of whom I have not known, until a few days back. The person has been working to port MultiROM for the Nexus 6P for the last few weeks. His name is Zhuowei, as I know from his Git profile. The developer has been working pretty hard at this, and his hard work has finally laid out the result. The release has been made at the original XDA thread and is staged as Beta. However, those who have tested this mod, including me, can assure that everything works as it should. I have already installed 2 different ROMs on my 6P, with Chroma ROM as primary, and PureNexus as secondary, that I can boot anytime.
Advertisement
Advertisement
NOTE: The project is now being handled by Nolen Johnson (npjohnson @XDA-Developers). Please consider supporting the developer with positive reviews, a few thumbs up, or by donating to him (PayPal).
Now, let us begin by installing MultiROM on Nexus 6P. The process is pretty simple, even for a n00b. All you need to know is how to flash a file via recovery.
MultiROM version – v33
Stage – Stable 7
TWRP version – v3.0.2-0
Release Date – 14 May, 2016
Custom kernels that support MultiROM on 6P: ElementalX, Franco’s kernel, AK Kernel
Page Contents
Instructions – MultiROM on Nexus 6P
Before you begin
- Multi-booting could be risky and highly experimental. Some secondary ROMs might work well with the primary, while others won’t. So, it is highly advised to completely backup your phone’s storage and other essential content. Also, take a Nandroid backup of your current ROM via TWRP.
- Download platform tools (ADB and fastboot) package and extract the zip. You will then have the platform-tools folder.
Downloads
- MultiROM TWRP v3.0.2-0: mr-twrp-recovery-20160528-05-STABLE7.img
- Download a custom kernel from the list mentioned above or use stock Kernel with kexec-hardboot: kernel-hardboot-stock-angler-6.0.1-20160514.zip
- MultiROM installer zip for N6P: multirom-20160514-v33-UNOFFICIAL-angler-STABLE7.zip
Install MultiROM on Nexus 6P
The process is a three-part installation. At first, you flash the customised MultiROM TWRP recovery, and secondly install the patched kernel with kexec-hardboot patch. The last part will be to flash MultiROM installer zip. So then, you will be good to go and multi-boot a number of ROMs on your Nexus 6P.
Advertisement
- Connect your phone to the PC via USB Type-C cable, and transfer the ‘kernel-hardboot-stock-angler-6.0.1-20160514.zip’ and ‘multirom-20160514-v33-UNOFFICIAL-angler-STABLE7.zip’ to the internal storage.
- Disconnect your N6P and power it off completely.
- Now, press and hold the volume down and power keys until you see the bootloader screen.
- Now while the phone is in bootloader mode, connect it back to the PC. Open the folder where ‘mr-twrp-recovery-20160528-05-STABLE7.img’ has been downloaded, and press SHIFT key and right-click on an empty space inside the folder.
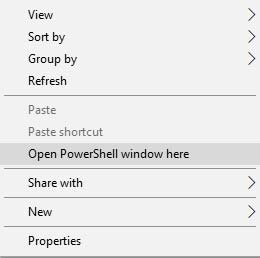
- Select Open PowerShell window here from the menu that appears.
- Enter the following command to make sure that your 6P is correctly detected by fastboot.
fastboot devices
The command window should return a device ID. If it doesn’t make, sure you have correctly setup fastboot.

- Now, just flash the modified TWRP recovery using the following command:
fastboot flash recovery mr-twrp-recovery-20160528-05-STABLE7.img
- That is it! Press the volume keys until you see – Recovery mode, and select it using the power button.
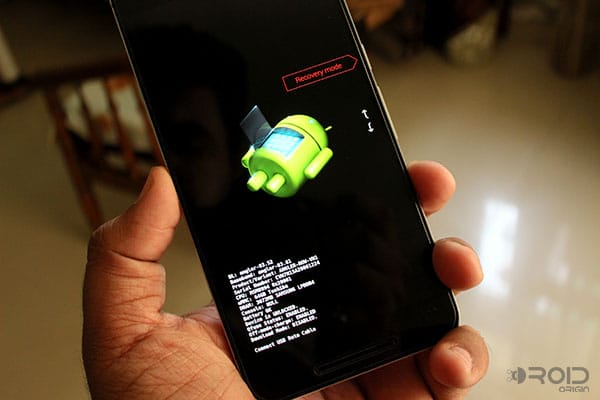
- Your phone should now enter the modified TWRP recovery.
- Tap on Install. Browse and select ‘kernel-hardboot-stock-angler-6.0.1-20160514.zip’ or the zip file of the kexec-hardboot supported kernel, that you downloaded in the beginning. Thereafter, flash it.
- Now, flash the ‘multirom-20160514-v33-UNOFFICIAL-angler-STABLE7.zip‘, following the same method.
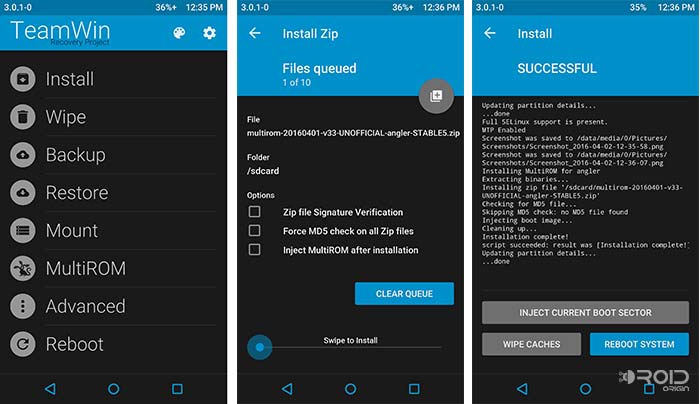
- Voila! You have MultiROM perfectly setup and ready-to-use on your Nexus 6P.
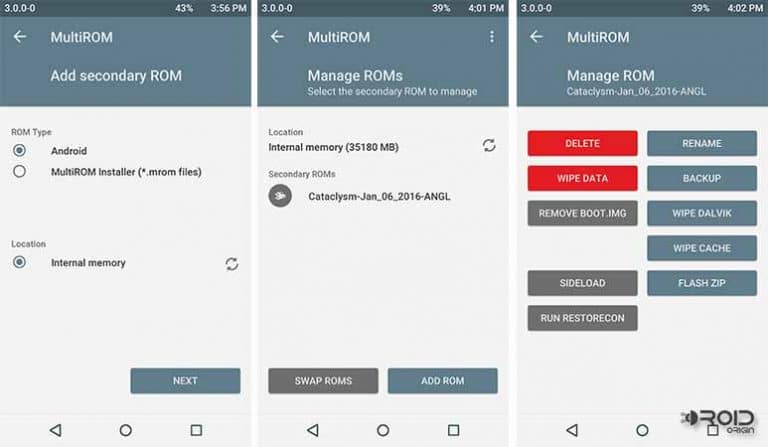
Download MultiROM Manager app to manage your ROMs on booted OS.
Roll up your sleeves, go ahead and add some more ROMs to your powerful device. To do so, simply go to TWRP recovery > MultiROM and tap on ADD ROM.
Advertisement
If at any time, you feel like uninstalling MultiROM, download the uninstaller zip and flash it via TWRP.
You can also help the developers regarding this project. Just visit the Github repo. Do you enjoy MultiROM on Nexus 6P? Tell us about your experience, and if you have any queries, comment below. Don’t mind sharing this article with other N6P users.