How to Enable iPhone-like Face ID Feature on Android
Want the iPhone X's Face ID like feature on your Android? This tutorial will help you do the same.

On this page
Want the iPhone X’s Face ID like feature on your Android? This tutorial will help you do the same. You can also enable a similar Face ID feature on Android pretty easily.
Apple has recently revealed its latest flagship iPhone X. One of those headlining new features Apple is touting with iPhone X is the facial recognition technology used to unlock the handset. If you are an Android user and you are jealous of this attribute and want Face ID Feature on Android, then this post is for you. While it’s not anywhere near as complex since the Face ID feature built-in to the iPhone X, Android already had the same feature before the launch of iPhone X.
To be clear, Apple’s new system utilizes a couple of added detectors that Android devices simply don’t have in the present time. Significantly, a flood illuminator and a double camera setup which includes an IR detector, which means that the iPhone X could find a precise 3D map of your face to avoid the device from being duped by a 2D picture of this user. This will not be true if you allow Trusted Face on Android.
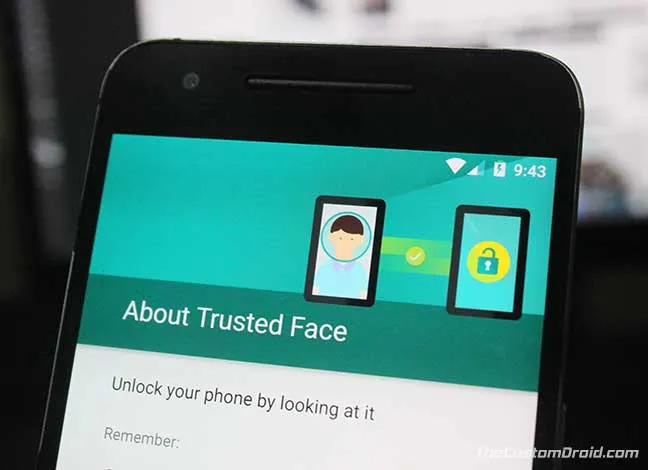
On Android, the attribute is known as “Trusted face”, and it was introduced by the Smart Lock feature in Android Lollipop. While it isn’t as precise as Apple’s Face ID, as the iPhone X uses specialized hardware to map the user’s face. Not to mention machine learning models trusted face do a semi-reliable task at unlocking when it sees the user’s face and no one else.
Also read: How to Enable Mac-like Touch Bar on Android Devices
Below you will find the quick steps about how to enable Face ID feature on Android, through Smart Lock. You can also improve the face recognition and also uninstall the trusted face setting.
Enable iPhone-like Face ID Feature on Android
Step 1: Enable Smart Lock on Android
If you are aware of this feature, you would know that it is disabled and grayed out in Settings > Security & location, until you enable a secure screen lock (like PIN, Fingerprint, etc). So we will first need to enable this very feature.
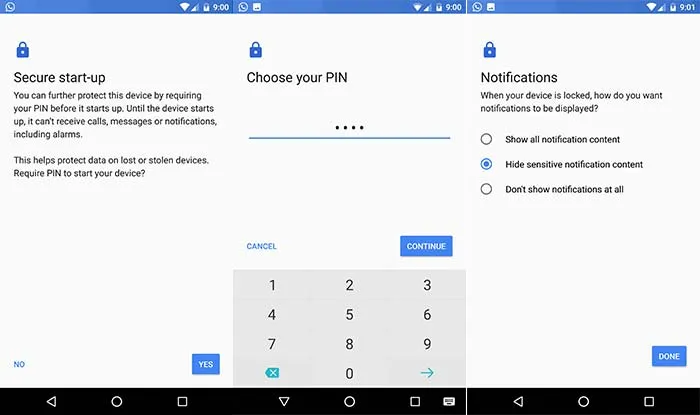
So, go to Settings > Security & location. Tap on “Screen lock” and set a secure method like Pattern, PIN, Password, or Fingerprint. As soon as you do that, you will see that the “Smart Lock” feature will be enabled for use. So, proceed to the next step to set up Smart Lock and enable Face ID feature on Android.
Step 2: Set up Smart Lock
- First, go to Settings > Security on Nougat or below. And, Settings > Security & location for Oreo.
- Now tap on Smart Lock beneath the “Device security” section.
- Input your password, PIN, or blueprint to confirm your ownership of this device.
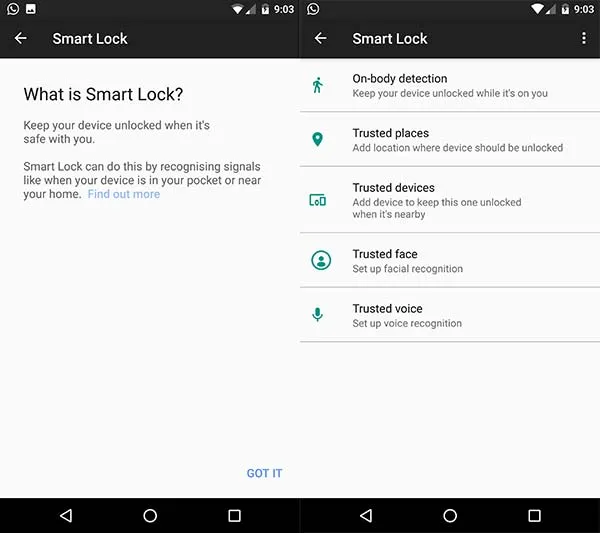
- Select Trusted face from the options.
- The UI will explain what trusted face is, how it functions, and tips on properly setting up your trusted face.
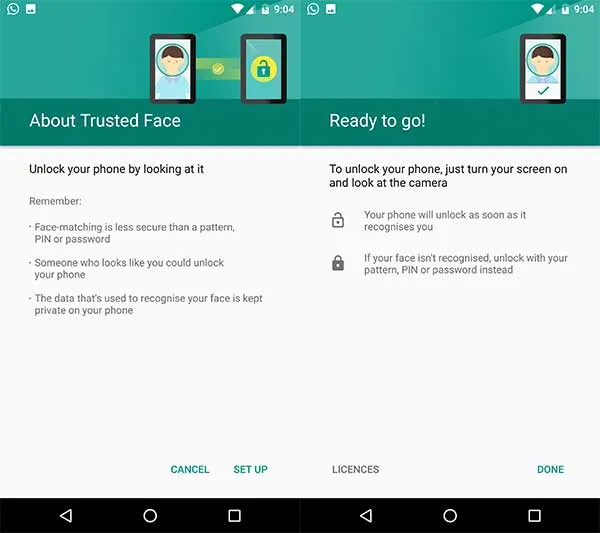
- Hold your device scaling with your head and position yourself so that your entire face is fully lit and inside of this onscreen face-shape. Maintain your device still for a few seconds until your face is being completely recognized and stored in the device.
That’s it, now you can use Trusted face feature in “Smart lock” to enjoy Face ID feature on Android.
Also read: How to Enable Floating Bubble in Google Phone
Step 3: Improving Facial Recognition
After setting Trusted face, are you still facing problems while unlocking? That’s probably because the device didn’t recognize your face properly. You can fix it by simply using the available “Improve face-matching” option.
- Go to Settings > Security & location (Security) > Smart lock.
- Input your password, PIN, or blueprint to confirm your ownership of this device and select “Trusted face”.
- Now simply select the “Improve face-matching” option.
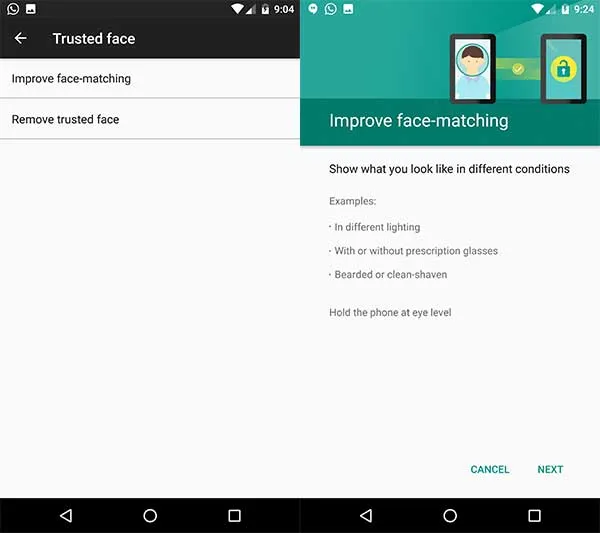
- The UI will explain that you lightning and other aspects that could help improve facial recognition.
- Hold your device is scaling with your head and position yourself so that your entire face is fully lit and inside of this onscreen circle.
- Maintain your device still for the time period, until your facial skin has been completely recognized and stored.
You are completely done Your Android device should now better recognize you and hopefully unlock quicker
Step 4: Using Face ID Feature on Android
With everything set up, you are ready to unlock your phone with your face. When you wake up your device, you will see a little icon in the bottom of the lock display indicating that the phone is looking on your face. Now come in front of the camera. This icon will transform into an “unlocked” icon within a fraction of another. At this point, it is possible to simply swipe your display to start your phone.
Remove Trusted Face Face ID Feature on Android
- Go to your device’s Settings > Security & Location > Smart Lock.
- Input your password, PIN, or fingerprint to confirm.
- Select Trusted face
- Now select the option to remove the trusted face from the menu.
- You will see a pop-up asking you to remove the trusted Select “Yes” and carry on.
Now you have successfully removed trusted face from your device.
So this was a walk-through guide of how to install Face ID Feature on Android using the trusted face settings.
Check more for your Android:
- Google Tez Payments App – All You Need to Know
- Enable Notification Importance Controls on Android 8.0
- How to Hide Persistent Notifications on Android Oreo
- How to Install Sony Apps on Any Android Device
In case if you have any doubt regarding the article, then please write us in the comments section.
Comments
Comments are moderated, and published only if they are relevant to the topic and add value in a constructive way. If you disagree with something, please be polite and respectful. We suggest you read our comment policy before commenting.